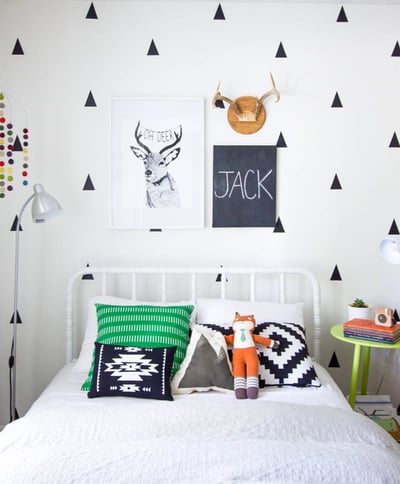
For my first DIY project this year, I wanted to add some visual interest to my 2-year-old’s bedroom. I fell in love with this wilderness-campy aesthetic and while searching for inspiration via Pinterest, I came across this:

Photo via Apartment Therapy
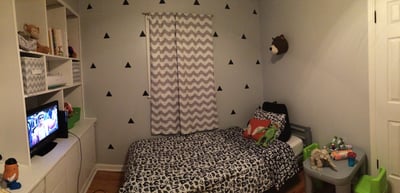
Triangle walls like this one kept popping up everywhere I looked and I realized I had all the makings for one in my current stash of craft supplies, so I set out on a mission. All-in-all, this project took about 3 hours to complete, start to finish. I suspect this is because the wall we chose was small and had a window in it, but here was the outcome:

Photo via Morgan Saylor
Want to try your hand at it? Here’s what you’ll need:
If you’re making your own stickers:
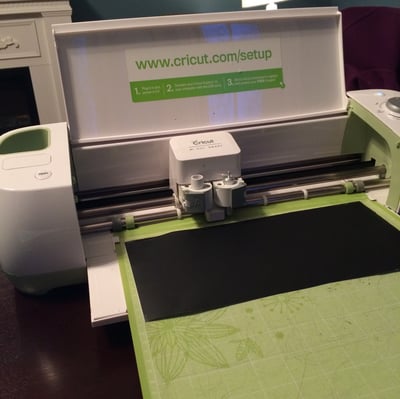
- A die cutting machine (I used a Cricut)
- Black wall vinyl (You can find it at any craft store, I bought mine on a roll. Make sure it has the sticky peel-off backing)
- Cutting mat
- Transfer tape
Or if you don’t have a die cutting machine, you can always buy these little wall decals online. They’re relatively inexpensive and you just have to have some idea about how many you’ll need. You will also need for this project a measuring tape, scissors, a credit card and chalk!
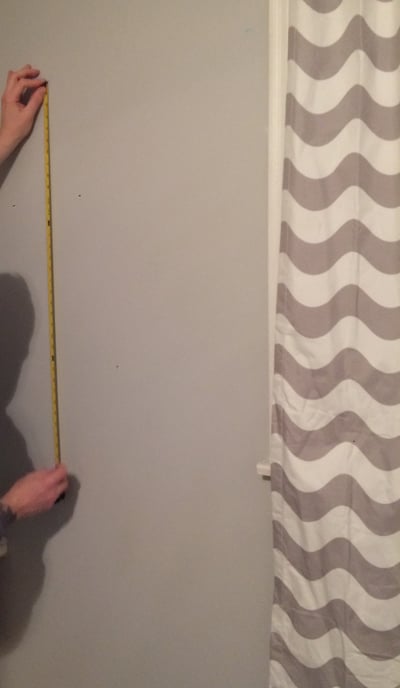
- Grid your wall – I did this by measuring the wall first and approximating how far apart I’d want row and columns, alternating. I made a tiny chalk mark where I would center my triangle. My measuring tape struggles are real so I let my husband do this part.
- Load mat – I cut a sheet of black wall vinyl to fit my mat, and made sure it was smoothed down.
- Cut triangles – This required no real effort on my part – I made a triangle 3-inch triangle, duplicated it as many times as it would fit on my 12X12 inch sheet of vinyl, and let my die cutting machine do the rest.
- Weed vinyl & apply tape – Again, because the shape was so simple, weeding the excess vinyl around the image took only a few minutes. I cut a 12x12 inch sheet of transfer tape to smooth over the front of my triangles to make what looked like one giant triangle sticker sheet. I used scissors to cut them out each individually.
- Peel and stick – This was the most challenging and time consuming part of the process. Remove the liner from your vinyl and use the transfer tape to lightly stick it to the wall. Because I wanted to make sure each triangle was as level as can be, I would stick the edges of the transfer tape – NOT the vinyl triangle sticker itself – stand back, and see if this looked level. A more skilled crafter would probably recommend using a level for this and so would I, except I don’t own one, so I just eyeballed it. Once you’re okay with the placement, use a credit card to smooth the vinyl onto the wall, pushing out bubbles and making sure edges are adhered well. Slowly pull away your transfer tape at a sharp angle to ensure the sticker doesn’t try to come off with it, and voila!

Cricut cutting basic triangles in black vinyl.

Photos via Morgan Saylor
I have had some experience transferring vinyl with transfer tape. If you haven’t, I’d suggest reading these instructions before diving headfirst into this one, and if nothing else, checking out some Youtube videos on the subject.
