
Simple to Stunning: Media Wall
Today is the day that I feel like an official blogger! You see, I’ve been sharing other people’s projects for some time now but today, I get to share my very own home project, along with pictures! Here it goes…
My husband and I moved into our new house a couple weeks ago and as most do with a new house, we had a list of things we wanted to do before we even got into the home—one, open the space between the living room and the kitchen, two, update the shower in the master and three, make room for our television in the living room. For those of you who don’t know, we live in Kentucky, in the heart of basketball country and basketball season’s start was upon us so you can probably guess which project came first! You got it—the tv needed a home!
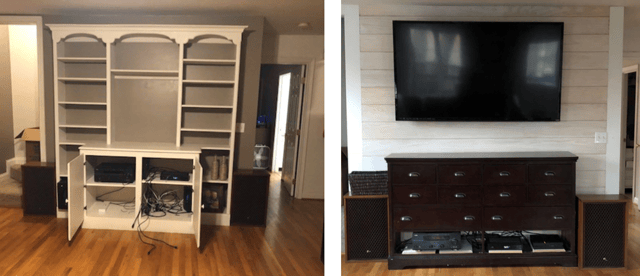
Our house had beautiful built in cabinets when we bought it but they certainly were not made to accommodate a television so the decision had to be made, adjust the built ins to accommodate our massive tv or get rid of the built ins and find another solution.
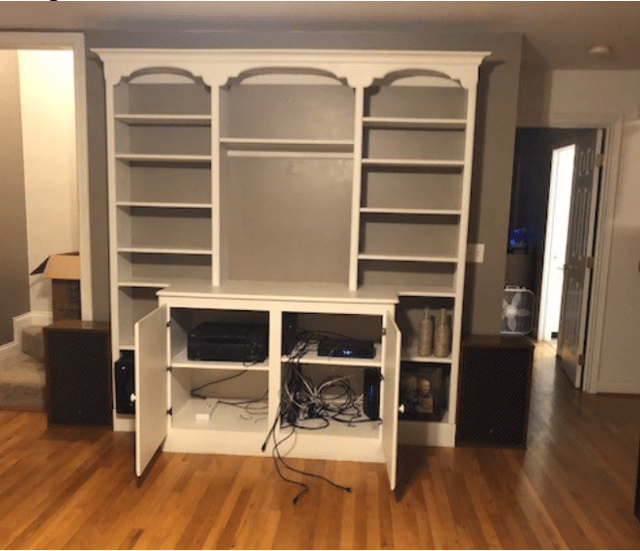
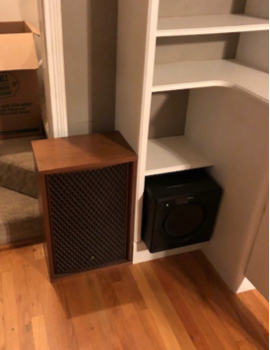
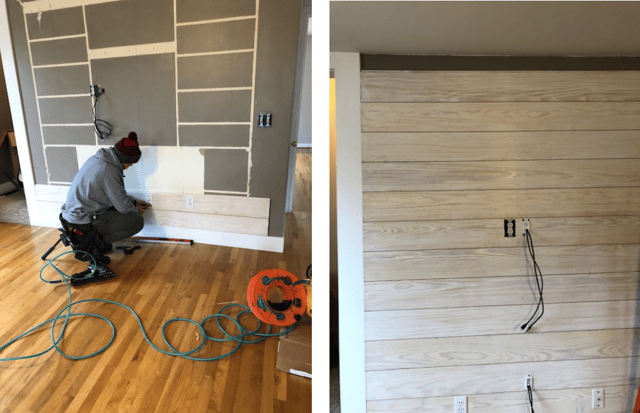
Prior to moving day, our plan was to adjust the built ins. I mean, who tears out built in cabinets? As it turns out, we do. There’s a couple reasons for this. First, it wasn’t just the tv that didn’t fit but our sound system didn’t either (see below). Second, we found out that my favorite dresser wouldn’t fit up the stairs and I wasn’t about to get rid of it. This was not an easy decision to come to and in fact involved some tears on my part, I had big plans for those cute little shelves. But once I started seeing my husband’s vision for this wall come to life the better I felt about losing my shelves.
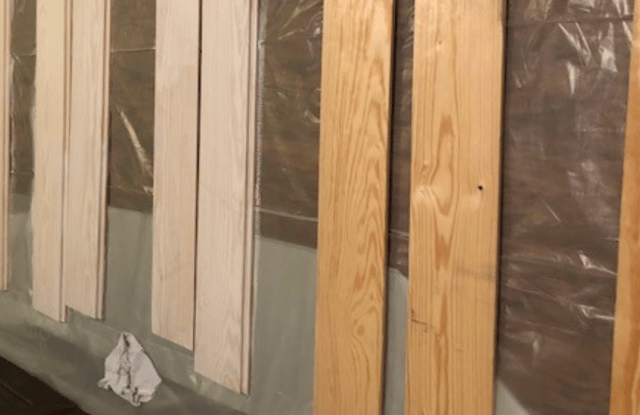
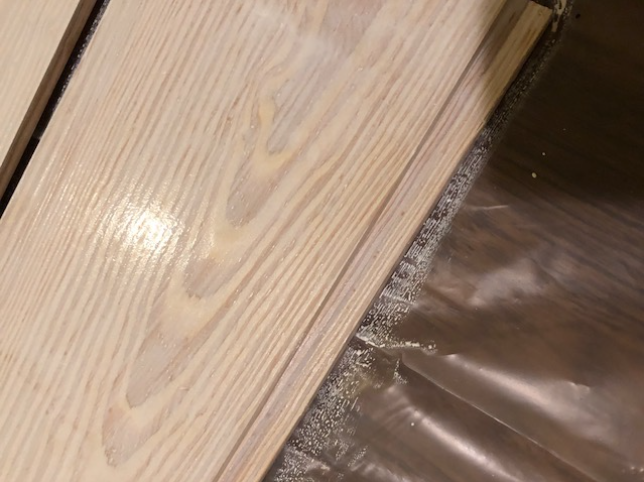
We decided to whitewash Shiplap planks from Lowe’s. This process took about 45 minutes one evening! It was super easy! We laid down plastic and stained the wood with whitewash pickling wood stain (Miniwax brand) according to directions on the container. You can see the difference between the original planks and the stained ones.
It almost looked milky. You can also see in this picture the special cut of the shiplap in the photo below:
For the installation day, we demoed the built ins and thankfully didn’t have to do any sanding or painting since the shiplap would cover anything existing on the wall. The trickiest part was fishing the wires up through the wall to where we were going to hang the TV. The installation of the shiplap was pretty easy! We added solid white trim pieces, on the bottom and left side of the wall, which match the trim in the rest of the house. Cut the planks to the correct length then started to add the planks one, on top of the other, locking them together. The finishing touch was adding that last piece of trim to right side and hanging the TV.
We still need to do something with the bottom of the dresser where our electronics sit but that project is for another day! Maybe you will see it back on the House to Home blog!
If you are looking to remodel, you need to know your options not only for design but also for financing. Start by applying for a renovation loan to see what is available to you. Click the Apply button on our home page! www.smcapproved.com